


Disclosure: This article contains affiliate links. We may earn a commission from purchases at no extra cost to you, which helps our travel content.
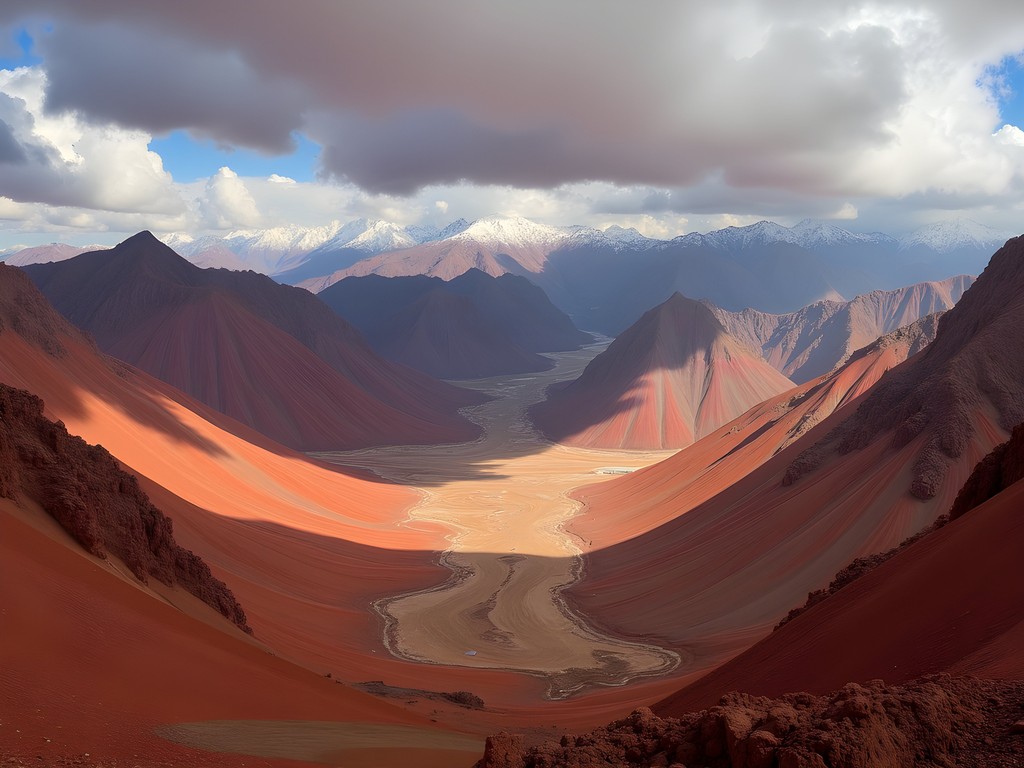
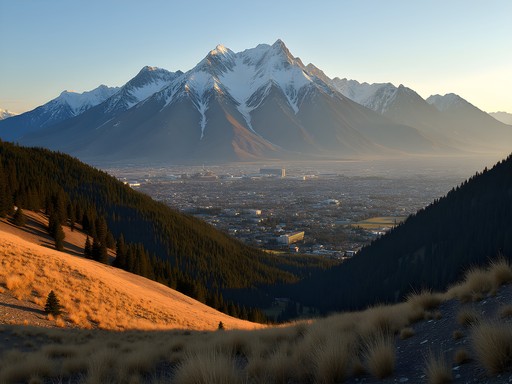
When my manufacturing company sent me to Lima for a supplier conference last fall, I immediately recognized the opportunity to extend my stay and finally check off a bucket-list item that had been calling to me for years: Peru's famed Rainbow Mountain. As someone who routinely transforms business trips into meaningful travel experiences, I wasn't about to miss hiking to one of South America's most spectacular geological wonders while already in the country. The vibrant, mineral-striped mountain stands at a breathtaking 5,200 meters (17,060 feet) above sea level, requiring proper preparation and respect for the altitude. Drawing from my experience navigating this challenging yet rewarding trek, I've compiled this comprehensive guide to help fellow business travelers and adventure seekers efficiently plan their own journey to Vinicunca—whether you're extending a work trip like I did or making a dedicated journey to this natural marvel.

Planning Your Rainbow Mountain Trek: Logistics from Cusco
After wrapping up my meetings in Lima, I caught an evening flight to Cusco, giving myself two full days to acclimate before attempting the Rainbow Mountain trek. This acclimatization period is non-negotiable—even for someone like me who regularly hikes in Colorado's high country.
There are two primary ways to visit Rainbow Mountain from Cusco: booking a tour or arranging independent transportation. After weighing the options and considering my tight schedule, I opted for a tour for its convenience and safety, especially as a solo female traveler.
Most tour operators offer similar packages ranging from 80-120 soles ($25-35 USD), including transportation, breakfast, and a guide. I researched extensively and selected a company with consistent reviews emphasizing safety and environmental responsibility. The standard tour involves a 3:00-4:00 AM pickup from your accommodation in Cusco—yes, it's painfully early, but this timing allows you to reach the mountain before both the crowds and afternoon weather roll in.
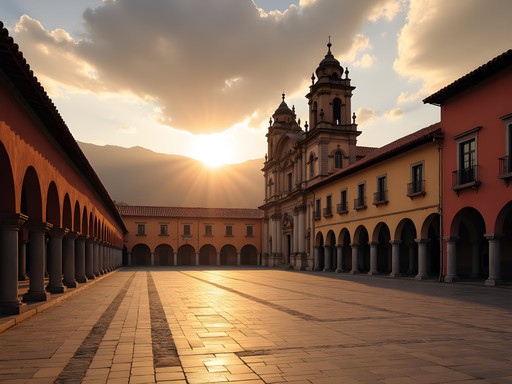
For booking, I used my travel planning notebook to compare options from multiple agencies in Cusco's Plaza de Armas. While you can book online in advance, I found better rates by negotiating directly with agencies in person after arriving in Cusco. If traveling during high season (June-August), booking 1-2 days in advance is sufficient; during shoulder seasons like when I visited in October, same-day bookings are often available.

💡 Pro Tips
- Book your tour after arriving in Cusco for better rates—expect to pay 80-120 soles ($25-35 USD)
- Allow at least 2 full days in Cusco for altitude acclimatization before attempting the trek
- Compare at least 3 different tour operators, asking specifically about group size and English-speaking guide availability
Preparing for High Altitude: Essential Health Considerations
Rainbow Mountain sits at a challenging 5,200 meters (17,060 feet), making proper altitude acclimatization absolutely essential. As someone who regularly works in Denver and hikes in the Rockies, I still found this elevation demanding and not to be underestimated.
My acclimatization strategy was methodical: two full days in Cusco (3,400m/11,150ft) before attempting the trek. During this time, I took short walks around the historic center, gradually increasing my activity while staying hydrated and avoiding alcohol completely. I also visited the nearby Sacred Valley (2,900m/9,500ft) on my first day, which helped me adjust more gradually by starting at a slightly lower elevation than Cusco.
Many travelers consider altitude medication, and after consulting with my doctor before leaving Buffalo, I carried a prescription for acetazolamide (Diamox). I began taking it 24 hours before arriving in Cusco and continued throughout my stay. While this medication helped significantly, it's not a substitute for proper acclimatization time.
Local remedies like coca tea are widely available and recommended in Cusco. I found it mildly effective for mild altitude symptoms, though its benefits may be partly psychological. My hotel kept coca leaves and hot water available 24/7 in the lobby—a thoughtful touch I greatly appreciated.
For the trek itself, I relied heavily on my hydration pack to ensure I maintained proper fluid intake throughout the hike. At high elevations, you dehydrate more quickly, and staying ahead of thirst is critical. I filled mine with water enhanced with electrolyte tablets, which made a noticeable difference in my energy levels compared to plain water.

💡 Pro Tips
- Start taking altitude medication 24-48 hours before arriving in Cusco if prescribed by your doctor
- Drink 3-4 liters of water daily during acclimatization and on the trek day
- Pack electrolyte tablets or powder to add to your water for better hydration
What to Pack: The Essentials for a Successful Hike
Having hiked extensively in various mountain regions, I've learned to pack strategically—especially for high-altitude day hikes where conditions can change rapidly. For Rainbow Mountain, this experience proved invaluable.
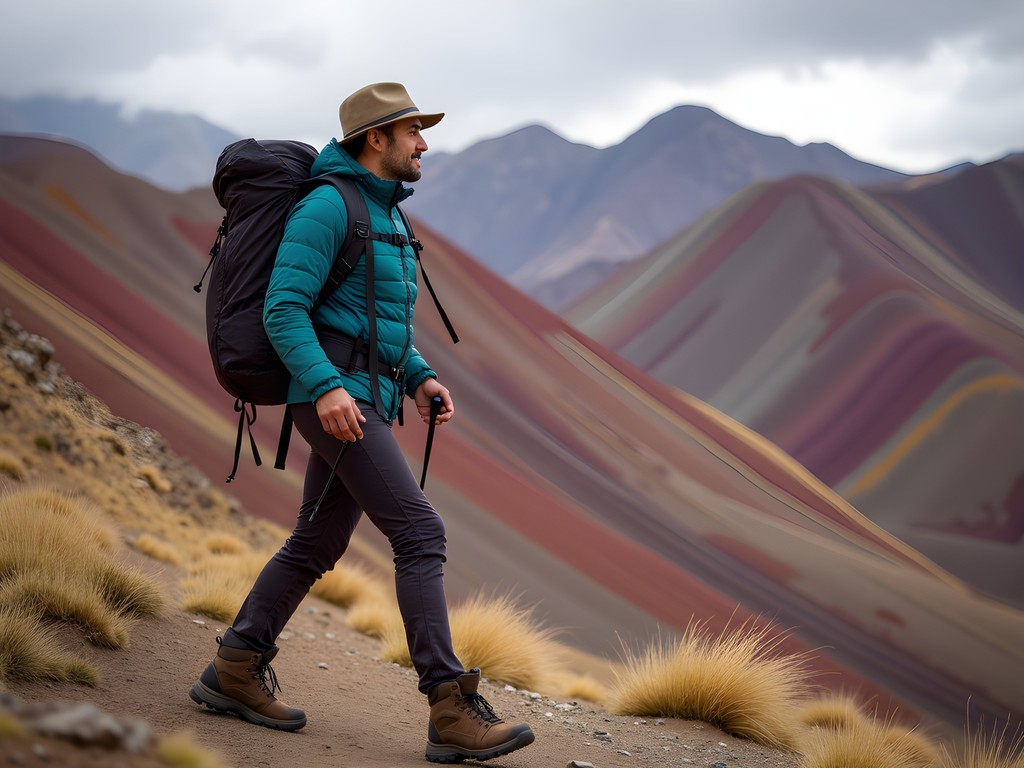
Layering is absolutely critical. When our van departed Cusco at 3:30 AM, the temperature was near freezing. By mid-morning on the mountain, the sun was intense, and I was down to a light layer. By early afternoon, cold winds and brief snow flurries had me bundling up again. This extreme variability is typical of high Andean environments.
My packing list for the day included:
- Base layer: Moisture-wicking thermal top and leggings
- Mid layer: Lightweight fleece pullover
- Outer layer: My trusty down jacket that compresses small but provides exceptional warmth
- Shell: Waterproof/windproof rain jacket
- Accessories: Warm hat, gloves, buff/neck gaiter, and sunhat
- Footwear: Waterproof hiking boots with good ankle support (the trail can be muddy and uneven)
- Sun protection: High SPF sunscreen, lip balm with SPF, and quality sunglasses (UV intensity is extreme at this altitude)
- Daypack: 20L pack with hydration reservoir
- Trekking poles: These were invaluable for the steep sections and reducing strain on my knees during descent
Don't underestimate the importance of sun protection at this altitude. The UV radiation is intense, and you can burn severely in minutes even on cloudy days. I reapplied sunscreen hourly and was grateful for my wide-brimmed hiking hat which provided crucial face and neck protection throughout the day.
Finally, pack snacks high in carbohydrates and easily digestible—altitude can suppress appetite, but your body needs fuel. I brought energy bars, trail mix, and dried fruit, supplementing the simple breakfast and lunch provided by the tour.
💡 Pro Tips
- Pack layers that can be easily added or removed as temperatures fluctuate dramatically throughout the day
- Bring at least 2-3 liters of water and electrolyte supplements
- Don't forget trekking poles—they're game changers on the steep, slippery sections

The Trek Experience: What to Really Expect
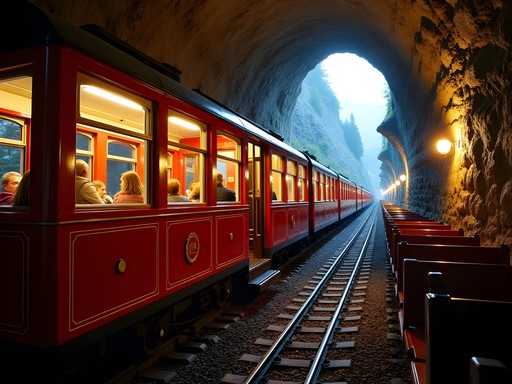
The Rainbow Mountain experience begins with what I can only describe as a test of will—the pre-dawn pickup and a bumpy 3-hour drive from Cusco that had me questioning my life choices. We arrived at the trailhead around 7:00 AM, where our guide directed us to a simple breakfast tent for coca tea and bread with jam. The air was thin and brutally cold, but the rising sun promised some relief.
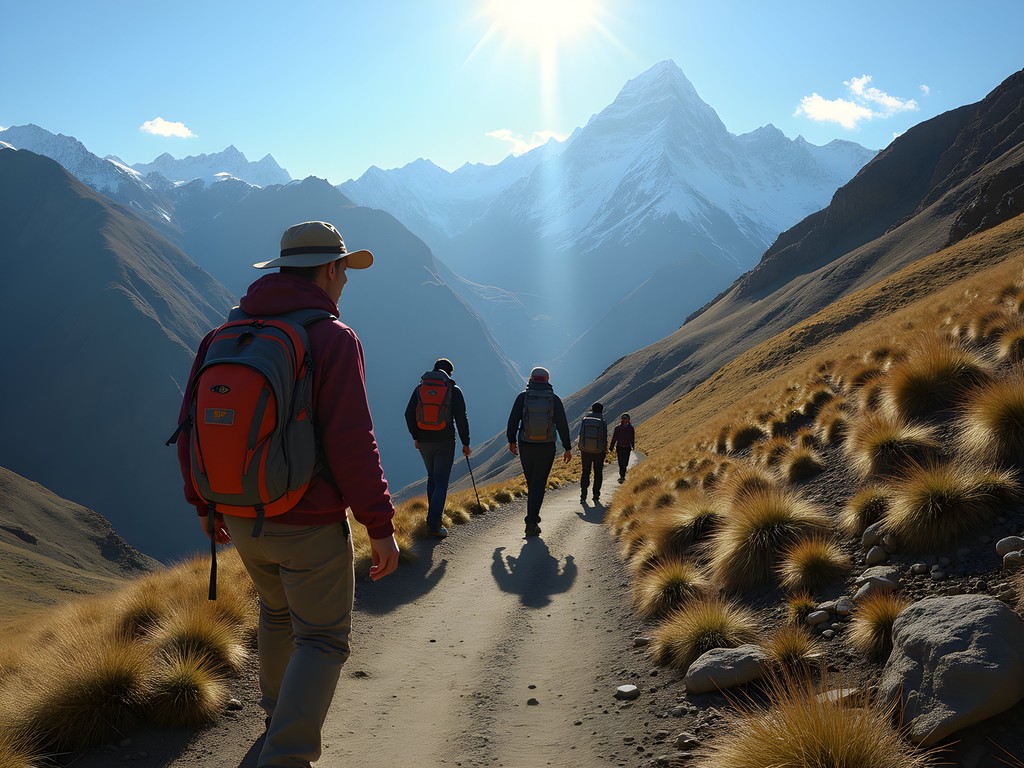
The hike itself covers approximately 7.5km (4.7 miles) round trip with an elevation gain of about 400 meters (1,300 feet) from the parking area. While this might sound modest, the starting elevation of 4,800 meters (15,750 feet) makes every step challenging. The trail begins relatively flat but gradually steepens, with the final approach becoming quite steep with some sections at 30-40% grade.
What surprised me most was the trail conditions. October is technically spring in Peru and the start of the rainy season. This meant occasional muddy sections that complicated the already challenging terrain. In drier months (May-September), dust can be an issue instead.
The crowds were another reality check. Despite our early arrival, by 9:00 AM the trail was filling with hundreds of other hikers. This is why the pre-dawn departure is worth the pain—arriving early not only means better lighting for photos but significantly fewer people photobombing your experience.
Perhaps most striking was watching fellow hikers struggle with the altitude. As someone who had properly acclimatized, I moved slowly but steadily, passing many who were stopping every few steps gasping for breath. Others opted for horse transport (available for 80-100 soles round trip), though I noticed the horses struggled on the steepest sections too.
The final approach reveals the famous panoramic view of Rainbow Mountain gradually, building anticipation with each step. When I finally crested the viewpoint at around 5,200 meters, the mineral-striped mountain appeared almost surreal against the blue sky—those vibrant reds, yellows, greens, and purples are indeed as striking as photographs suggest, though weather conditions significantly impact visibility and color intensity.
💡 Pro Tips
- Move slowly and deliberately—this is not a hike to rush due to the altitude
- Consider hiking poles even if you don't normally use them—they're extremely helpful on the steep, sometimes slippery terrain
- Arrive at the viewpoint before 9:30 AM for the best lighting and fewer crowds
Alternative Routes and Hidden Gems
While most tourists focus exclusively on the main Rainbow Mountain viewpoint, my production management background has taught me to always look for efficiency opportunities and alternatives to crowded standard routes. This mindset led me to discover some lesser-known options that significantly enhanced my experience.
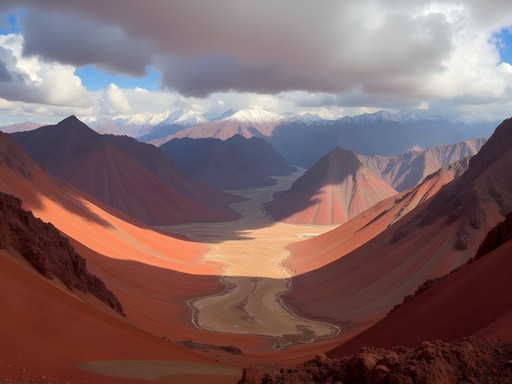
After researching extensively before my trip, I learned about the Red Valley (Valle Rojo), an equally spectacular landscape just beyond Rainbow Mountain that most day-trippers never see. When booking my tour, I specifically asked if it included the Red Valley extension—some do for an additional 20 soles ($6 USD). This small investment yielded enormous returns in terms of experience quality.
While approximately 80% of visitors turn around after reaching the Rainbow Mountain viewpoint, I continued with a small subset of our group for an additional 45-minute hike into the Red Valley. The crowds immediately disappeared, and we were treated to vast, Mars-like landscapes with even more intense red mineral formations stretching across an immense valley. This portion of the hike follows a ridgeline with breathtaking panoramic views and was, in my opinion, even more impressive than Rainbow Mountain itself.
For those with more time and seeking a truly off-the-beaten-path experience, consider the alternative Rainbow Mountain routes:
-
Palccoyo Rainbow Mountain: A less strenuous alternative at slightly lower elevation with three rainbow-colored mountains and significantly smaller crowds. The hike is only about 1 hour round trip.
-
Three Rainbow Mountains Trek: A challenging 2-day trek from the village of Pitumarca that visits Vinicunca plus two additional rainbow mountains without the crowds.
For photography enthusiasts like myself, I found my polarizing filter absolutely essential for capturing the vibrant colors of both Rainbow Mountain and the Red Valley. The polarizer cuts through atmospheric haze and enhances the saturation of the mineral colors, particularly on partly cloudy days when lighting can be challenging.
💡 Pro Tips
- Ask specifically about the Red Valley extension when booking your tour—it's worth the extra 20 soles
- Consider Palccoyo as an alternative if you're concerned about altitude or physical ability
- Bring a polarizing filter for your camera to enhance the vibrant colors in your photographs
Final Thoughts
Rainbow Mountain demands respect—for both the challenging conditions and the fragile environment—but rewards the prepared traveler with truly extraordinary views. As a business traveler who extended a Lima conference to experience this natural wonder, I found the journey emblematic of my travel philosophy: transform obligations into opportunities for meaningful experiences. The 3:00 AM wake-up call, the altitude challenges, and the crowds all tested my resolve, but standing atop that 5,200-meter viewpoint, watching the morning light illuminate those mineral stripes, I was reminded why we push beyond our comfort zones. Whether you're extending a business trip like I did or making a dedicated journey to Peru, proper preparation will transform this from a potentially miserable experience into one of the most memorable hikes of your life. Remember to tread lightly, respect local communities, and take only photographs. The mountains have stood for millennia; it's our responsibility to ensure they remain for generations to come.
✨ Key Takeaways
- Allow at least 2 full days in Cusco for altitude acclimatization before attempting the Rainbow Mountain trek
- Book your tour locally in Cusco for better rates and request the Red Valley extension for a more complete experience
- Pack for extreme weather variability with proper layering, sun protection, and plenty of water
- Consider alternative rainbow mountain sites like Palccoyo if you're concerned about crowds or altitude
📋 Practical Information
Best Time to Visit
May through October (dry season), with shoulder months (April/May and September/October) offering fewer crowds
Budget Estimate
$30-40 USD for standard tour, $40-60 USD including Red Valley extension and additional expenses
Recommended Duration
Full day (12-14 hours including transportation from Cusco)
Difficulty Level
Challenging
Comments
smartbuddy
Adding this to my Peru itinerary for sure!
wanderpro
Is it doable for someone who doesn't hike regularly?
Sarah Powell
It's more about altitude tolerance than fitness level. I've seen marathon runners struggle while casual hikers do fine. That said, any cardio prep beforehand will help. Just make sure you acclimatize properly in Cusco first.
travelmate
We did this last month and honestly it was harder than I expected. I'm in decent shape but that altitude is no joke. The views are worth it though. Pro tip: bring snacks because the breakfast they give you at 4am is pretty basic. Also the bathrooms along the way are rough so be prepared for that lol
Sage Dixon
Ha, yes! The bathroom situation is... rustic. Part of the adventure though, right? 😅
moonnomad
Your photos are incredible! The colors look unreal
Sarah Powell
Excellent breakdown of the logistics, Abigail. One thing I'd add from my experience last year: the weather can change dramatically in minutes up there. I started in sunshine and ended up in a snowstorm by 10am. Layer strategically and keep rain gear accessible, not buried in your pack. Also, the crowds have gotten significantly worse since 2019. If you can swing a weekday trek instead of weekend, you'll have a much better experience. The alternative Red Valley route is also stunning and sees about 30% fewer trekkers.
wanderpro
didn't know about the Red Valley option, thanks!
smartbuddy
Which tour company did you use from Cusco? There's like a million options and the prices are all over the place
explorewanderer
Did you feel the altitude sickness really bad? I'm going in March and kinda nervous about it
Sage Dixon
Spend at least 2-3 days in Cusco before attempting Rainbow Mountain! I made the mistake of trying it too soon on my first Peru trip and had to turn back. The coca tea actually does help, and take it slow on the ascent. Listen to your body.
explorewanderer
Thanks! That's really helpful
freegal
Just got back from doing this trek last week! Your packing list saved me - especially the tip about layers. It was freezing at 5am but then I was down to a t-shirt by 10am. One thing I'd add: bring a good hiking pole! The descent was harder on my knees than the climb up. I used my trekking poles and they were absolutely essential. Also, the little oxygen canisters sold in Cusco pharmacies are worth their weight in gold if altitude sickness hits. Don't hesitate to turn around if you feel really bad though - we saw someone being carried down on a stretcher and it was scary.
photochamp
Your summit photo is incredible! What camera did you use? I'm heading there next month and debating whether to lug my DSLR or just use my phone.
Abigail Matthews
Thanks! I actually just used my iPhone 14 Pro. At that altitude, I was grateful not to have extra weight. The light is so good up there that phone cameras do surprisingly well!
photochamp
That's a relief to hear! One less thing to carry up that mountain.
oceannomad
Planning to visit in May next year. Is that a good time weather-wise? Also, how far in advance should I book the tour?
Abigail Matthews
May can be hit or miss as it's the start of the dry season. I'd recommend booking just 1-2 days after arriving in Cusco so you can check weather forecasts. Most hostels and hotels can arrange it for you with 24hrs notice!
Venture X
Premium card with 2X miles, $300 travel credit, Priority Pass