


Disclosure: This article contains affiliate links. We may earn a commission from purchases at no extra cost to you, which helps our travel content.
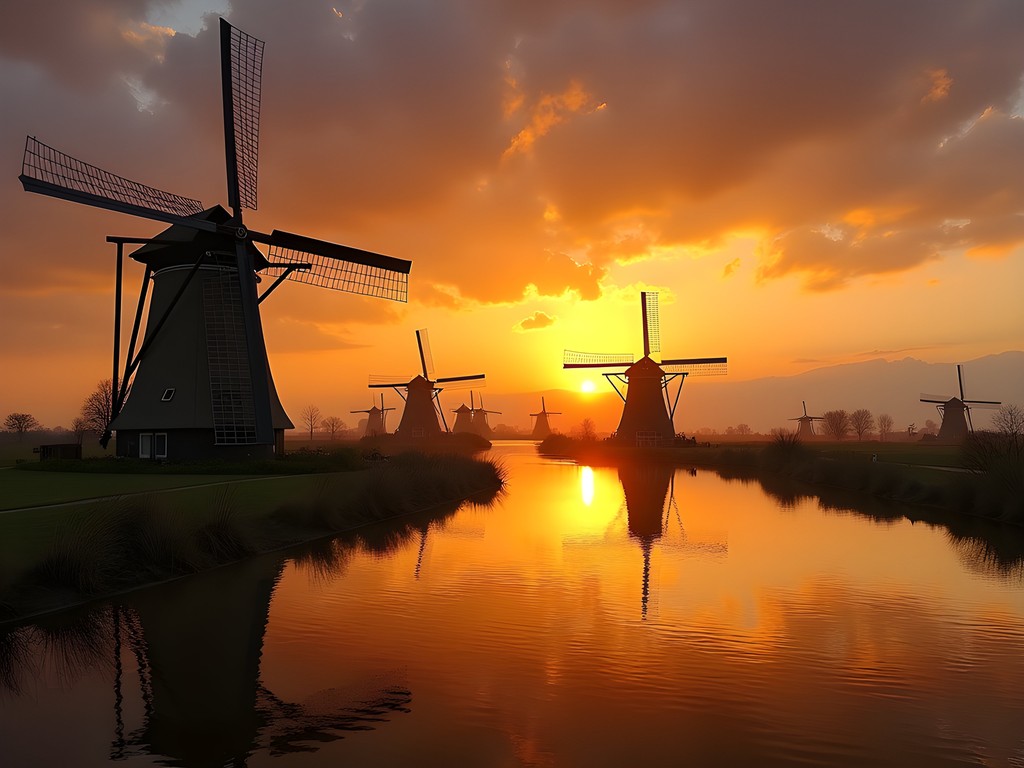
The first time I witnessed the windmills of Kinderdijk bathed in golden light, I understood why UNESCO deemed this landscape worthy of preservation. Nineteen 18th-century windmills standing sentinel along the polders, their wooden arms occasionally turning against a backdrop of impossibly Dutch skies—it's a photographer's dream that demands more than just pointing and shooting. Having photographed mountains across five continents, I can confidently say that capturing these humble structures requires similar reverence and technical finesse. Let me guide you through the perfect photographic weekend in Kinderdijk, where engineering marvel meets natural splendor in a dance of light and shadow.

Planning Your Photographic Pilgrimage
Kinderdijk sits just 15km east of Rotterdam, making it an accessible weekend escape for couples seeking both romance and photographic opportunities. While day-trippers arrive by the busload between 10am and 4pm, the true photographer knows that magic happens at the edges of the day.
I recommend basing yourself in Rotterdam and rising early to catch the first light. The electric scooter rental offers a delightful way to arrive—silent and unobtrusive, allowing you to glide into position before the crowds descend. Alternatively, the water bus from Rotterdam provides a scenic approach that contextualizes these windmills' relationship with the water they were built to manage.
Accommodation in Kinderdijk itself is limited, but the nearby village of Alblasserdam offers charming B&Bs that provide easy access for those dawn expeditions. When my partner joined me last spring, we found that splitting our stay between Rotterdam's urban energy and Alblasserdam's quaint tranquility created a perfect balance.
💡 Pro Tips
- Book accommodations in Rotterdam for urban exploration and Alblasserdam for early morning access
- Purchase tickets online to skip queues and save time for photography
- Visit mid-week in spring for fewer crowds and beautiful light conditions
Golden Hour Secrets of Kinderdijk
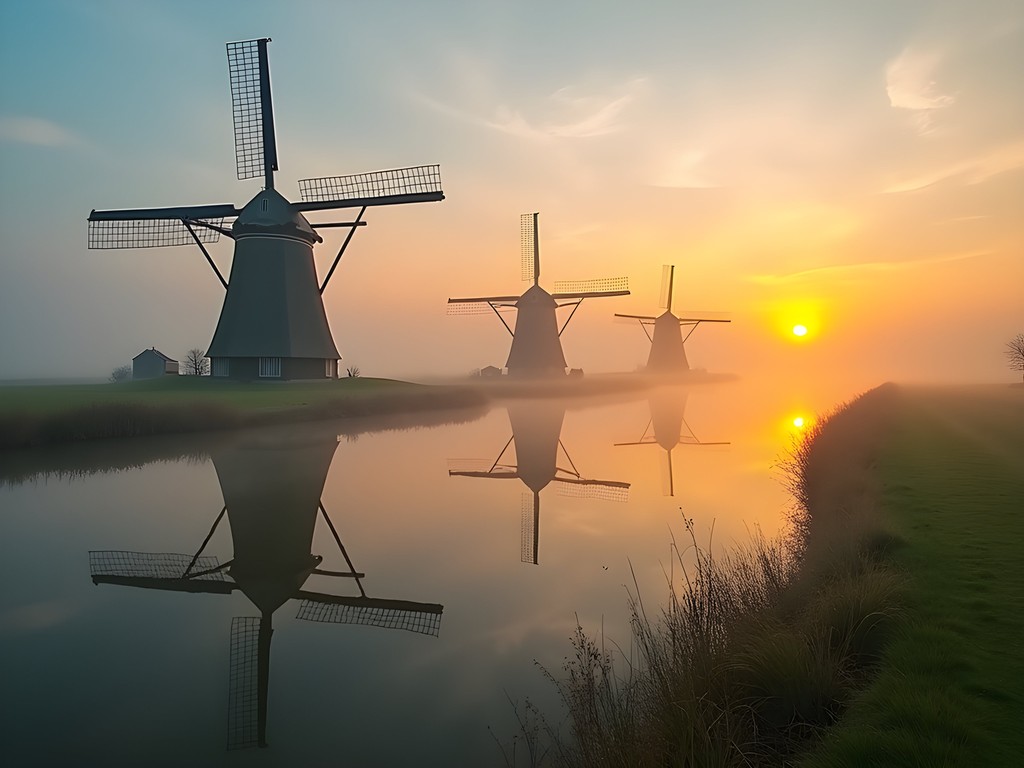
Golden hour at Kinderdijk transforms these functional structures into silhouettes of poetry. Having photographed golden hour across five continents, I can attest that Kinderdijk offers something uniquely magical—the interplay of water, sky, and these distinctive human-made forms creates compositions that feel both timeless and dynamic.
My preferred shooting times are 30 minutes before sunrise until about an hour after, then again from an hour before sunset until twilight fades. During my last visit in April, I found myself alone with the windmills at 6:15am, watching the first light catch their sails while ducks created ripples across perfectly reflective waters.
For stability during these low-light conditions, I rely on my carbon fiber tripod which handles the occasionally breezy conditions without vibration. A good remote shutter release is also essential for those long exposures when even touching the camera can introduce shake.
Don't rush from one windmill to the next. I spent an entire hour at Windmill No. 2, watching as the changing light transformed it from a shadowy form to a detailed structure revealing centuries of craftsmanship.
💡 Pro Tips
- Arrive at least 30 minutes before sunrise to set up your equipment in the best locations
- Use the PhotoPills app to plan exact sun position relative to specific windmills
- Bring graduated neutral density filters to balance bright skies with darker foregrounds
Composition Techniques for Windmill Photography
The uniform spacing of Kinderdijk's windmills presents both opportunity and challenge for compelling composition. After years of photographing repetitive elements—from Himalayan prayer flags to Australian rock formations—I've learned that finding visual rhythm is key.
Try these approaches I've refined over multiple visits:
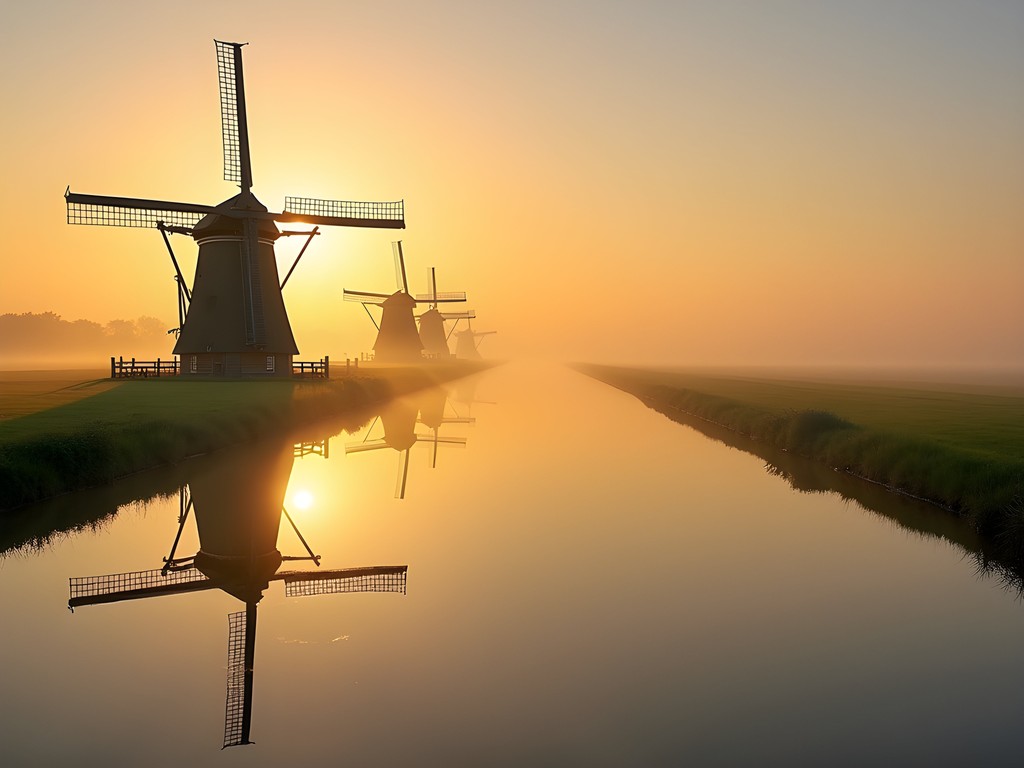
Leading Lines: The canals and footpaths create natural leading lines that draw the viewer's eye through your image. Position yourself where these lines converge with windmills for powerful compositions.
Reflections: Spring brings calm mornings ideal for capturing mirror images in the still waters. Get low to the ground—I often find myself kneeling at water's edge with my camera just centimeters above the surface.
Framing: Use the arms of one windmill to frame another in the distance. This creates depth and context while showcasing their mechanical design.
Human Element: Including your partner in the frame provides scale and emotional connection. I often position my partner as a small figure gazing toward the windmills, creating both scale and narrative.
For those longer exposures that capture moving windmill sails or cloud movement, I recommend using a variable ND filter which allows you to adjust exposure length without changing your carefully composed frame.
💡 Pro Tips
- Use the rule of thirds to position windmills at intersection points rather than center frame
- Incorporate diagonal lines from windmill arms to create dynamic tension
- Experiment with extreme wide angle (16mm) and telephoto (200mm) perspectives for variety

Beyond the Postcard: Intimate Details & Stories
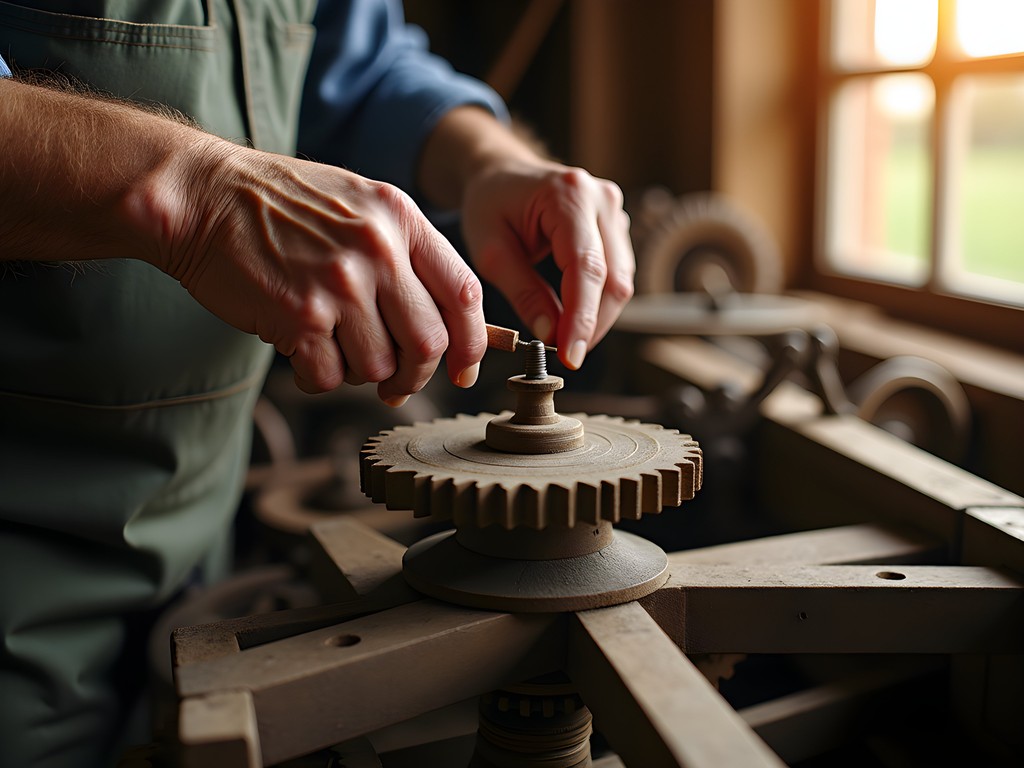
While the classic wide shots of windmill rows are essential, my artistic background draws me to the intimate details that tell deeper stories. The weathered wood grain of a 250-year-old sail arm. The contrast between ancient mechanisms and modern conservation techniques. The resident miller's wooden clogs resting by the door.
During my third visit to Kinderdijk, I spent an afternoon with Hendrik, a volunteer who maintains Windmill No. 5. His hands—cracked and calloused from restoration work—became the subject of a photo series that connected human craft to these historic structures. These intimate portraits often tell more about a place than grand landscapes.
For detail work, I recommend carrying a macro lens to capture the intricate woodwork and mechanical elements. The lens cleaning kit is also essential in this environment where wind can carry dust and pollen onto your glass.
Don't forget to document the surrounding flora—especially in spring when tulips and other Dutch flowers create foreground interest. The polders between windmills burst with wildflowers that add color contrast to the predominantly earth-toned structures.
💡 Pro Tips
- Visit the museum windmill to photograph interior mechanisms and living quarters
- Focus on interactions between visitors and windmills to tell human stories
- Use a polarizing filter to manage reflections when photographing windmill details
Practical Considerations for Photography Couples
Visiting Kinderdijk as a photography-focused couple requires balancing creative pursuits with relationship harmony—something my partner and I have refined through many photographic expeditions.
While the site is compact enough to explore on foot, the full circuit spans 3km. For couples with different energy levels or carrying heavy gear, consider renting bicycles on-site to move efficiently between shooting locations. I've found that the camera backpack comfortably distributes weight during longer shooting sessions while providing quick access to gear without setting everything down.
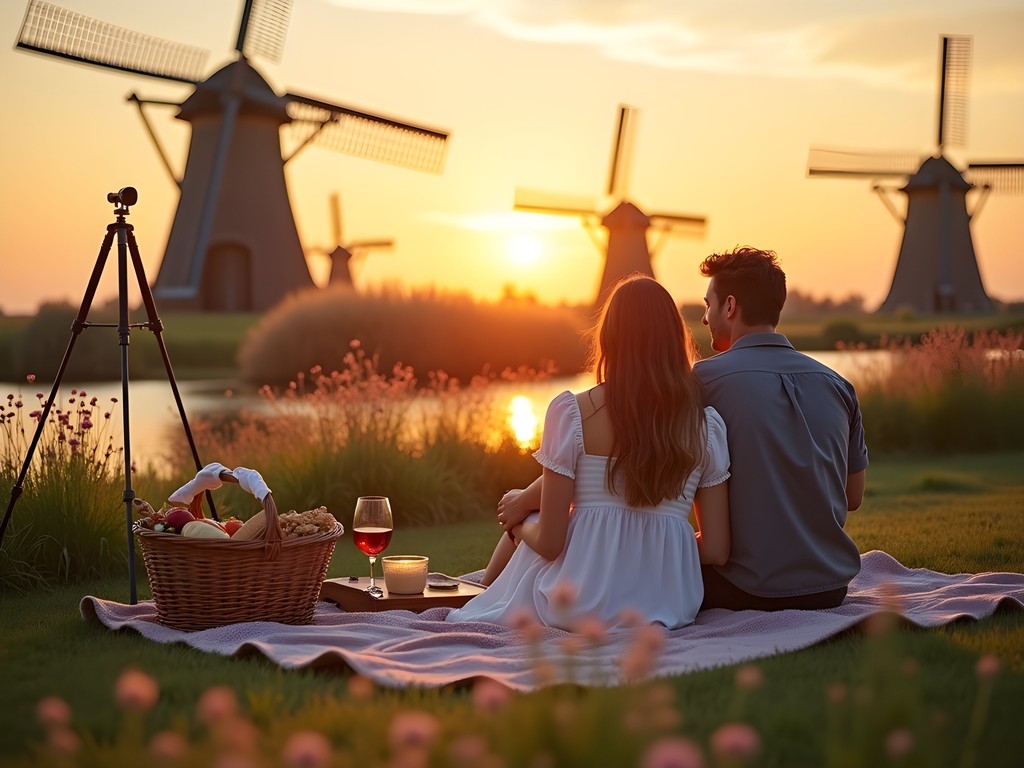
Kinderdijk offers limited dining options, so pack a romantic picnic to enjoy between shooting sessions. We discovered a perfect willow-shaded spot near Windmill No. 7 that offers both privacy and a spectacular view. The insulated picnic backpack keeps champagne chilled and strawberries fresh while doubling as extra padding for camera gear.
Communicate your photography priorities with your partner before arriving. My technique is to identify 3-5 'must-have' shots that might require patience or specific timing, while remaining flexible about the rest. This prevents the frustration of one partner feeling like a photography assistant rather than a travel companion.
💡 Pro Tips
- Take turns being photographer and model to ensure both partners enjoy the experience
- Schedule non-photography activities in harsh midday light when conditions aren't ideal
- Visit the Kinderdijk visitor center first for orientation and to plan optimal shooting locations
Final Thoughts
As the day ends and blue hour descends upon Kinderdijk, I find myself reluctant to pack away my camera, knowing each shifting cloud brings new compositional possibilities. Yet there's also joy in simply experiencing this place—in watching my partner's face illuminate with the same golden light that touches the windmills, in feeling the connection between past and present that these structures embody.
Kinderdijk reminds us that photography is not just about technical mastery but about seeing—truly seeing—the interplay of light, history, and human ingenuity. These windmills have stood for centuries, their reflection in canal waters a meditation on permanence and change. Our photographs, like the windmills themselves, are attempts to harness something ephemeral—light, time, emotion—and transform it into something that endures.
Return in different seasons, different weather, different light. Each visit will reveal new perspectives, new stories. And between clicks of the shutter, remember to lower your viewfinder occasionally and simply absorb the beauty that drew you to capture it in the first place. Kinderdijk isn't just a photography destination—it's a masterclass in seeing the extraordinary in the seemingly ordinary, a skill that will transform your photography far beyond these Dutch polders.
✨ Key Takeaways
- Golden hour (sunrise and sunset) offers the most magical lighting conditions for windmill photography
- Explore both classic landscape compositions and intimate detail shots to tell a complete visual story
- Balance dedicated photography time with moments to simply experience the place with your partner
- Return in different seasons to capture diverse moods and lighting conditions
📋 Practical Information
Best Time to Visit
Mid-April to early June for ideal light and spring blooms
Budget Estimate
€150-250 per day including accommodation, transportation and meals
Recommended Duration
2-3 days minimum for varied lighting conditions
Difficulty Level
Moderate (Requires Early Mornings And Some Walking)

Comments
DutchExplorer
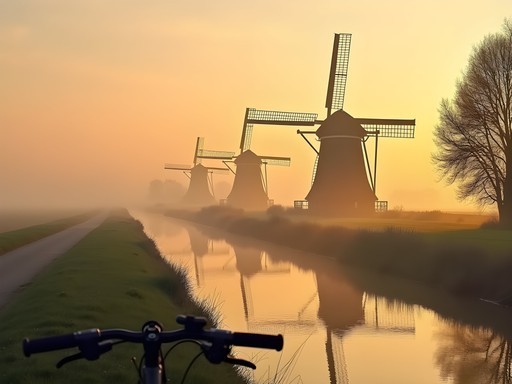
As a local, I'd recommend visiting in late October or early November when we sometimes get those magical misty mornings. Fewer tourists too!
summerfan
These photos are incredible! Going to Kinderdijk next month and now I'm even more excited!
Amit Sanchez
Thanks summerfan! You're going to love it. Try to get there about 90 minutes before sunset if you can!
summerfan
Will do! Did you take the water bus from Rotterdam or drive there? Trying to figure out the best way to get there with camera gear.
Amit Sanchez
I took the water bus! It was super convenient and gave me some nice shots approaching from the water. Just make sure to check the return schedule if you're staying for sunset.
summerfan
Perfect, thanks! I'll be using my camera backpack which should make it easy to carry everything on public transport.
Bryce Diaz
Amit, your golden hour shots of Kinderdijk are absolutely stunning! I visited last spring but made the rookie mistake of arriving midday when the light was harsh. The way you've captured the windmills reflecting in the water with that warm glow is masterful. I especially appreciated your tip about positioning yourself on the eastern path during sunset - that's going on my list for my return visit. Did you find weekdays significantly less crowded than weekends for photography? I'm planning a photography-focused trip back to the Netherlands next year and want to time it right.
Amit Sanchez
Thanks Bryce! Weekdays were definitely quieter, especially Tuesday and Wednesday afternoons. If you can time your visit for April or early May, you'll get those longer golden hours without the summer crowds.
Bryce Diaz
Perfect, thanks for the tip! April it is then. Can't wait to try your composition suggestions with the leading lines of the canals.
Taylor Moreau
Excellent guide, Amit. I visited Kinderdijk last spring during a business trip to Rotterdam and made the detour specifically for golden hour photography. Your point about arriving 90 minutes before sunset is spot-on – that pre-golden hour blue light offers wonderful contrast with the windmills. One tip I'd add: the bicycle path along the northern canal provides less crowded vantage points than the main tourist walkways. Did you find the eastern or western side more productive for compositions? I struggled a bit with the western approach due to backlighting, though it did create some dramatic silhouettes.
Amit Sanchez
Great question Taylor! I actually preferred the eastern side for that exact reason - more control over the light. Though I did get some silhouettes from the west that turned out beautifully. The bicycle path tip is excellent, thanks for sharing!
dreamace
can you rent bikes there easily?
Taylor Moreau
Yes, there's a rental shop right at the visitor centre. Very convenient.
dreamace
omg those windmill shots are incredible!! 😍
Amit Sanchez
Thanks so much! The light that evening was just magical.
dreamqueen
Is this doable as a day trip from Amsterdam?
hikingace
Yeah definitely! It's about an hour to Rotterdam then the waterbus. Totally worth it.
Jean Wells
Excellent composition advice here. I visited Kinderdijk twice - once in April and again in September - and the seasonal differences are remarkable. April had more dramatic cloud formations which enhanced the golden hour significantly. One technical note: the reflections in the canals are best captured with a polarizing filter, though you'll want to adjust it carefully to not eliminate them entirely. Also worth mentioning that weekday visits during shoulder season mean far fewer tourists in your frames. The site opens at 9am but photographers can access the paths earlier if you're respectful.
wildpro
Good call on the polarizer! Didn't even think of that
wildpro
What lens did you use for most of these shots? I'm debating between bringing my 24-70 or 70-200.
hikingace
Not Amit but I was there last spring and honestly used my 24-70 the whole time. The windmills are pretty spread out so you want that flexibility. The wider shots with the canals and multiple windmills really capture the scene better than zooming in on just one imo.
islandmate
Great post! Quick question - what time did you arrive to get set up for golden hour? Trying to figure out logistics from Rotterdam.
Amit Sanchez
I got there about 90 mins before sunset in summer. The waterbus from Rotterdam takes around 30-40 mins. Gives you time to scout locations!
islandmate
Perfect, thanks!
dreamqueen
Wow those colors!! Adding this to my list
Venture X
Premium card with 2X miles, $300 travel credit, Priority Pass