
Disclosure: This article contains affiliate links. We may earn a commission from purchases at no extra cost to you, which helps our travel content.
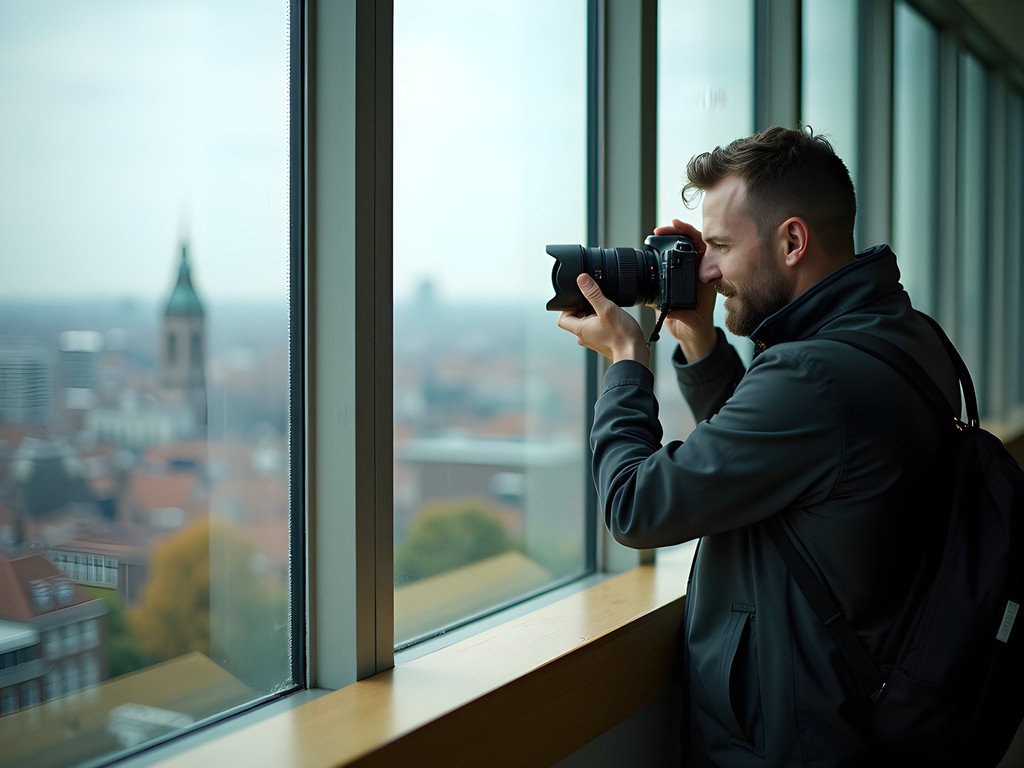
There's something about the transition from Parisian elegance to Amsterdam's canal-laced charm that speaks to my investigative nature. As someone who's spent years uncovering hidden details, I find that same methodical approach serves me exceptionally well behind the lens. This spring, I carved out a week to trace a photographic journey from the manicured gardens of Paris to the tulip-dotted landscapes of the Netherlands. What I discovered was a visual narrative that unfolds like the perfect case file – each location offering distinct evidence of Europe's unparalleled aesthetic appeal. Whether you're traveling solo with professional gear or simply armed with a smartphone, this carefully mapped route promises to deliver portfolio-worthy captures while maintaining the security and comfort that my background has taught me to prioritize.
Paris: Strategic Positioning for Iconic Captures
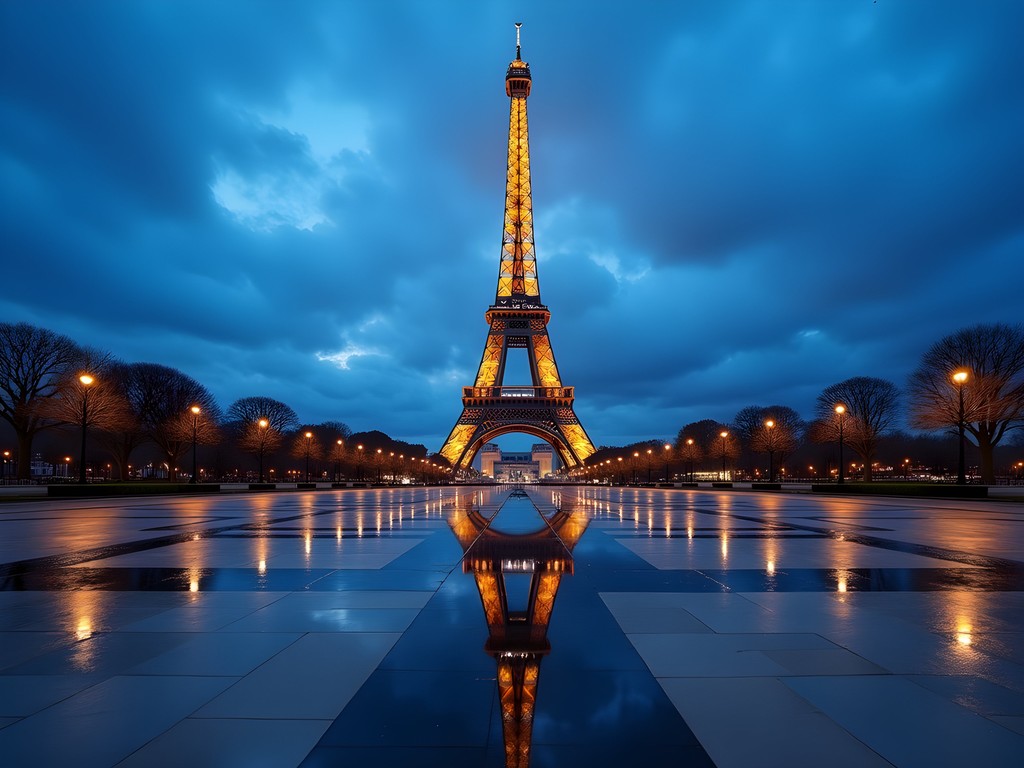
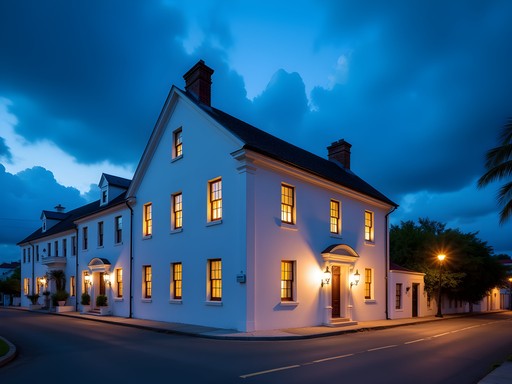
My approach to photographing Paris draws directly from surveillance techniques – it's all about positioning and timing. While the Eiffel Tower's allure is undeniable, I've found that the standard shots from Trocadéro become transformed in the blue hour just before sunrise. With fewer crowds and that ethereal pre-dawn light, you'll capture a Paris that most tourists miss entirely.
For street photography, I spend hours in the Marais district, where the interplay of historic architecture and contemporary Parisian life creates perfect compositional tension. The narrow streets around Rue des Rosiers offer natural framing opportunities, while the Place des Vosges provides geometric symmetry that translates beautifully to the frame.
One location that rarely makes typical itineraries is the Coulée verte René-Dumont (the original High Line). This elevated park provides unique vantage points of Parisian rooftops and architectural details impossible to see from street level. I arrived just after a spring shower, when the foliage glistened and reflected the warm afternoon light – a reminder that sometimes the most compelling images emerge when conditions seem less than ideal.
When it comes to equipment, I never travel without my Peak Design Everyday Backpack. Its customizable dividers and side access panels allow me to retrieve my camera without removing the bag – essential for maintaining awareness in crowded tourist areas while never missing a shot.
💡 Pro Tips
- Visit Montmartre at first light to capture the city awakening while avoiding the crowds that gather later
- Use the geometric patterns of the Louvre pyramid as foreground elements when shooting at sunset
- For authentic street photography, the 11th arrondissement offers less touristic scenes with genuine Parisian character
Securing Your Gear: The Private Investigator's Approach
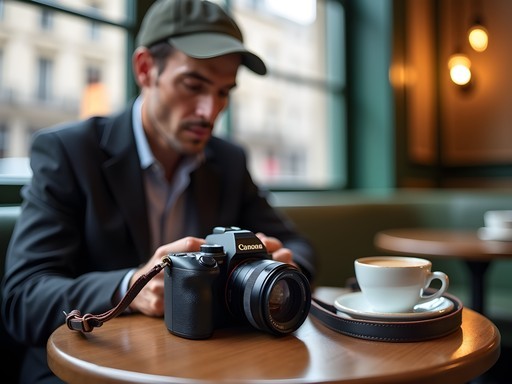
My background as a PI has made me particularly attuned to security concerns while traveling with expensive photography equipment. Between Paris and Amsterdam, you'll be navigating busy train stations, crowded tourist spots, and potentially vulnerable moments when changing lenses or reviewing shots.
First, I maintain a deliberate low profile despite carrying professional gear. My camera strap looks deceptively simple but features quick-release functionality and reinforced connections that prevent snatch-and-grab attempts. I've learned to avoid camera bags that scream 'expensive equipment inside' – the tactical appearance of many photography bags might as well be a target.
When shooting in busier areas like Paris' Montmartre or Amsterdam's Dam Square, I employ what we call 'situational triangulation' in investigative work – maintaining awareness of exit routes, identifying potential risk factors, and establishing safe zones where I can change lenses or review images. I typically position myself with my back to a wall or in a corner of a café where I can observe while adjusting settings.
For overnight security in mid-range accommodations, I use a portable travel safe that secures to fixed objects in hotel rooms. It's large enough for a camera body, couple of lenses, and memory cards, providing peace of mind when exploring evening locations without full gear.
Perhaps most importantly, I maintain a meticulous backup workflow. Each evening, I transfer images to both an external drive and a cloud service using hotel Wi-Fi. Memory cards are never formatted until backups are confirmed – a habit that has saved client evidence and priceless travel images alike.

💡 Pro Tips
- Use generic bags with padded camera inserts rather than obvious camera bags when in crowded areas
- Never set your bag down behind you in cafés or restaurants – keep it on your lap or between your feet
- Create a 'quick release' setup for your camera that allows you to secure it rapidly if a situation feels uncomfortable
The Transitional Landscapes: Capturing the Journey Between
The beauty of a Paris-to-Amsterdam route lies in the transitional landscapes between these iconic cities. Rather than flying directly, I opted for the train journey with strategic stops that offered distinct photographic opportunities.
My first intermediate destination was Antwerp, Belgium. The central train station alone is worth several hours of photography – its magnificent glass dome and architectural details provide endless compositions. I spent a morning shooting with my wide-angle lens, which proved essential for capturing the soaring interior spaces while maintaining architectural accuracy.
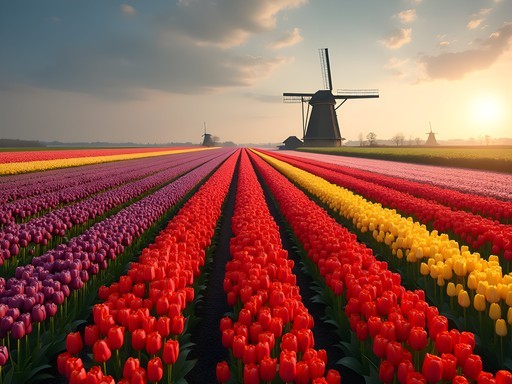
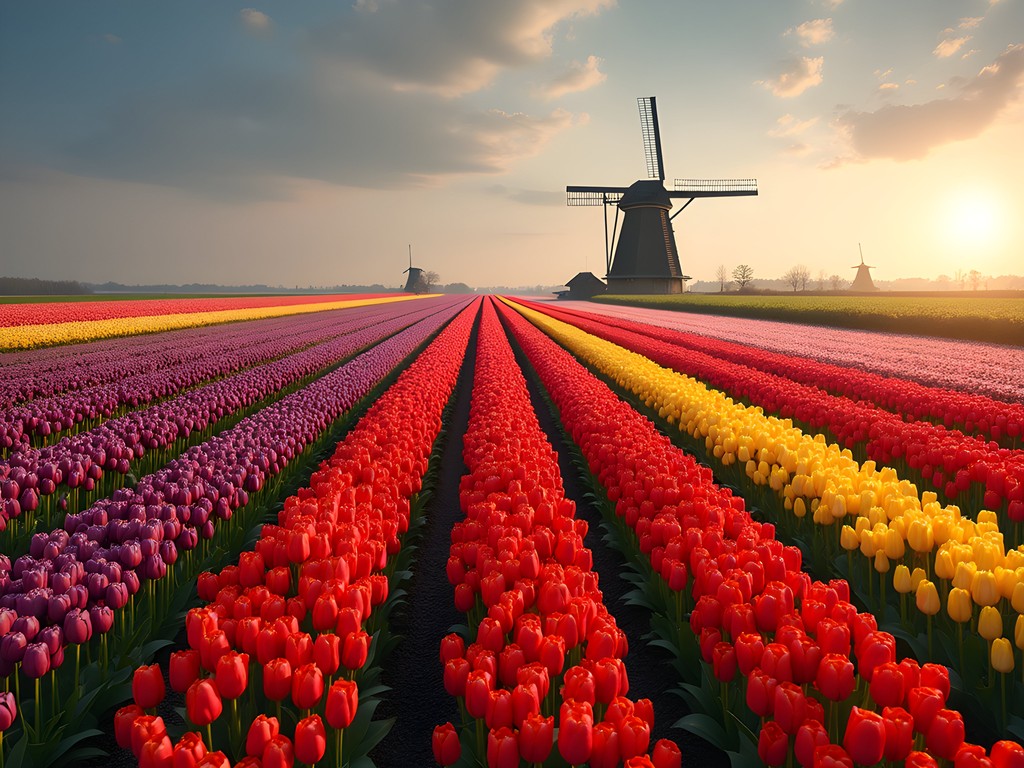
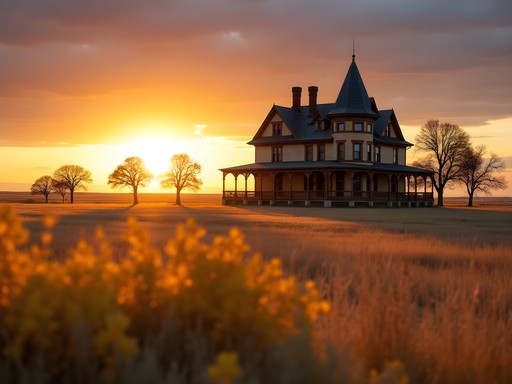
Moving northward, the Dutch countryside in spring presents a photographer's dream scenario. I arranged a half-day stop in the bulb region between Leiden and Haarlem, timing my visit with the tulip bloom cycle. Here, I switched to a medium telephoto lens to compress the vibrant bands of color that stretch toward the horizon. The technique creates an almost abstract quality in the final images that contrasts beautifully with the architectural precision captured in urban environments.
What many photographers overlook on this route are the opportunities presented by the high-speed train journey itself. I secured a window seat on the left side (heading north), which offers superior landscape views. With my camera set to a fast shutter speed (minimum 1/500s) and continuous shooting mode, I captured the rhythmic patterns of passing windmills, canals, and farmland. These images provide visual context that connects the urban bookends of the journey.
For these transitional landscapes, I found early morning or late afternoon light most compelling, when long shadows accentuate texture and the softer illumination brings out the subtle color gradations in agricultural fields and waterways.
💡 Pro Tips
- Research bloom forecasts for tulip fields if traveling in spring - peak periods can vary by up to two weeks each year
- Use polarizing filters when photographing canal reflections to control glare and enhance color saturation
- Consider renting a bicycle in smaller Dutch towns for mobility between photographic locations without the constraints of public transportation schedules

Amsterdam: Mastering Light and Reflections
Amsterdam presents a fascinating challenge for photographers: how to capture fresh perspectives of one of Europe's most photographed cities. My investigative approach led me to focus on three elements that define Amsterdam's visual character: water, light, and architectural geometry.
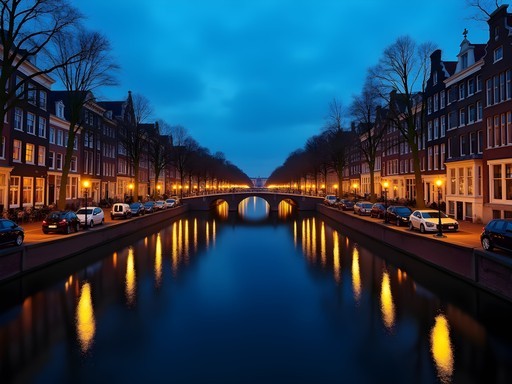
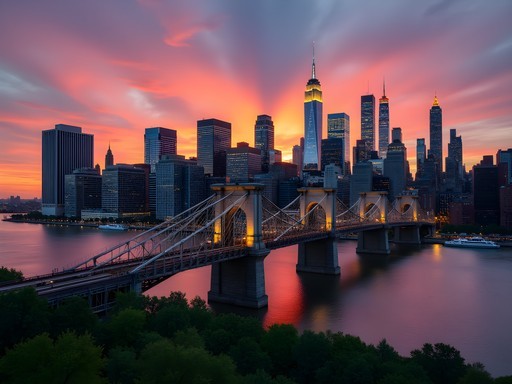
The canal system offers endless opportunities for reflection photography, particularly during blue hour when the city's lights begin to illuminate historic facades. I positioned myself at the junction of Herengracht and Brouwersgracht canals approximately 30 minutes after sunset, when artificial lighting balanced perfectly with the remaining ambient light. A sturdy travel tripod is essential here – the lightweight carbon fiber construction made it practical to carry throughout the day while providing the stability needed for longer exposures.
For architectural photography, I found the contrast between Amsterdam's historic canal houses and modern structures like the Eye Film Museum particularly compelling. The morning light on the museum's angular white facade creates dramatic shadows that change by the minute – I spent two hours simply observing and documenting this light progression from various vantage points across the IJ waterway.
One lesser-known location I discovered through local connections is the public library (Openbare Bibliotheek Amsterdam). Its upper floors provide unique elevated views of the city without the crowds or cost of more famous viewpoints. The geometric patterns of Amsterdam's layout become particularly apparent from this vantage point.
For street photography, I focused on the transitional neighborhoods like Jordaan and De Pijp rather than the overly touristic center. Here, the authentic rhythm of Amsterdam life unfolds in neighborhood markets and quiet side streets. I switched to a 35mm prime lens for these walks, embracing the discipline of a fixed focal length to sharpen my compositional instincts.

💡 Pro Tips
- Schedule canal photography for the 'second sunset' – approximately 30-45 minutes after the sun dips below the horizon when buildings, sky, and water achieve perfect luminous balance
- Use the reflective surfaces of Amsterdam's many houseboats as unconventional framing devices for traditional canal architecture
- Visit the NDSM Wharf area for industrial textures and street art that provide visual counterpoint to historic Amsterdam imagery
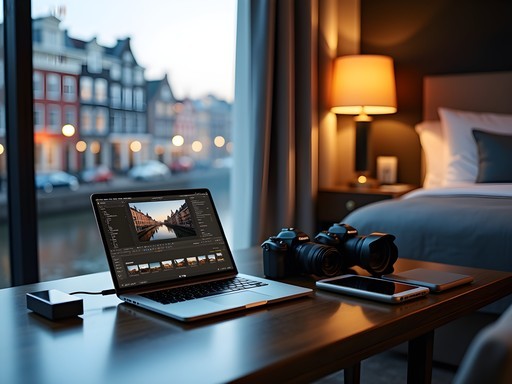
Post-Processing on the Road: Maintaining Your Digital Workflow
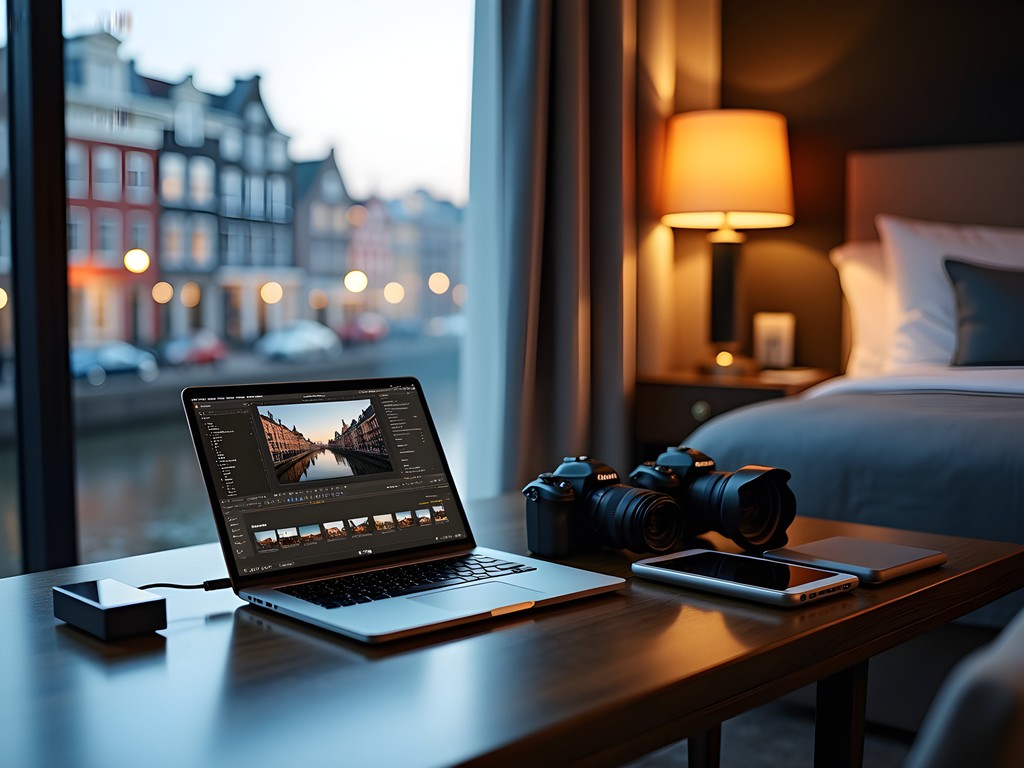
As someone who values efficiency and security, I've developed a streamlined workflow for managing and processing images while traveling between destinations like Paris and Amsterdam.
My evening ritual begins with transferring the day's images to my portable SSD. The speed of this particular drive means backups complete in minutes rather than hours, leaving more time for actual editing. I maintain two separate backups – one on the physical drive and another uploaded to a secure cloud service.
For processing on the road, I've found that a powerful tablet with sufficient RAM handles most editing tasks without requiring a full laptop. The key is establishing a consistent rating and culling system. I use a three-pass approach: first marking potential keepers with a single star, then upgrading truly strong images to three stars, and finally selecting portfolio-quality shots with five stars. This hierarchical system makes it easy to quickly find my best work when time is limited.
One technique that has significantly improved my travel photography is location-specific preset development. For Paris, I created a custom preset that enhances the cream and pale blue tones prevalent in the city's architecture while maintaining natural skin tones. For Amsterdam, my preset subtly emphasizes the contrast between brick reds and canal greens that define the city's color palette. These presets serve as starting points that can be refined for individual images but maintain a consistent look across location-based collections.
I also maintain meticulous metadata practices – immediately tagging images with precise location data and descriptive keywords. This investigative thoroughness pays dividends later when searching for specific images or compiling themed collections. When working with potentially thousands of images from a single trip, this organizational discipline becomes essential rather than optional.
💡 Pro Tips
- Establish a consistent file naming convention that includes date, location, and subject for easier organization and searching
- Always verify cloud uploads before formatting memory cards – hotel Wi-Fi can be unreliable, sometimes showing completed uploads that actually failed
- Create location-specific color profiles that enhance the distinctive palette of each destination while maintaining a cohesive look across your travel portfolio
Final Thoughts
This photographic journey from Paris to Amsterdam represents more than just a collection of images – it's a visual investigation into the cultural and architectural transitions that define this corner of Europe. By approaching travel photography with the same methodical attention to detail that serves me in investigative work, I've found that the resulting images reveal layers of narrative that might otherwise remain hidden. The spring timing of this expedition proved ideal, offering extended golden hours, dramatic cloud formations, and the natural vibrancy that defines both urban and rural landscapes during this season. Whether you're documenting iconic landmarks or seeking the subtle human moments that unfold in quiet side streets, this route offers endless compositional possibilities. I encourage you to approach your own photographic journey with both technical precision and investigative curiosity – the most compelling images often emerge when you look just beyond the obvious frame.
✨ Key Takeaways
- Timing is crucial – schedule shooting sessions around optimal lighting conditions rather than tourist convenience
- Security consciousness enhances rather than hinders creative freedom by eliminating worry about equipment
- The transitional landscapes between major destinations often yield more unique images than iconic landmarks
- Developing location-specific editing approaches maintains both consistency and authenticity in travel portfolios
📋 Practical Information
Best Time to Visit
Mid-April to early May for optimal spring conditions and tulip blooms
Budget Estimate
$2,000-$3,000 for 7 days (mid-range accommodations, train travel, and meals)
Recommended Duration
7-10 days (minimum 3 days Paris, 3 days Amsterdam, 1-4 days for transitions)
Difficulty Level
Intermediate
Comments
vacationzone
This is super helpful! I'm a total beginner with photography but want to capture my trip properly. Do I need a fancy camera or will my phone be okay? Also, how long should I spend in each city to get good shots without rushing? Planning this for September and trying to figure out my itinerary. The gear security section has me thinking I should get a better bag too.
vacationstar
Phone cameras are great now! I did Paris with just my iPhone last year and got amazing shots
Marco Flores
I'd say 3-4 days minimum in each city if you want to catch different lighting conditions. And modern phones are incredible - just learn basic composition rules!
Amit Sullivan
The investigative lens you bring to travel photography is quite refreshing, Douglas. I made this journey last autumn and was struck by how different the architectural storytelling is between the two cities. Paris demands a certain formality in composition, while Amsterdam's crooked canal houses almost beg for playful angles. One tip I'd add: the golden hour in Amsterdam lasts significantly longer in spring due to the northern latitude. I found the light between 7-9pm in May absolutely perfect for those canal reflections. Also, don't sleep on Rotterdam if you have an extra day - the modern architecture there creates a fascinating photographic contrast to both Paris and Amsterdam's historic centers.
explorebackpacker
Rotterdam is underrated for sure!
vacationstar
Really cool guide! The Montmartre sunrise shot is incredible
coffeelife
What camera settings do you use for the canal reflections in Amsterdam? Always struggle with that
Marco Flores
Douglas, your approach to gear security really resonates! I had my camera bag snatched near Gare du Nord two years ago - learned that lesson the hard way. Now I always use a cross-body strap and keep my hand on it in crowded stations. The section about capturing the transitional landscapes between cities is brilliant. Those Belgian countryside shots through the train window can be magical if you time it right. I found early morning Thalys trains give the best light through Flanders. Have you experimented with shooting through the train glass or do you prefer stopping at smaller towns along the way?
vacationzone
Wait, is it really that bad for theft in Paris stations? I'm planning my first Europe trip and getting worried now
Marco Flores
Don't worry too much! Just stay aware in crowded areas and keep valuables close. It's like any major city - common sense goes a long way
explorebackpacker
Love the photos! Doing this route in spring
TravelBug42
Your security tips saved my gear in Paris! Those pickpockets are no joke.
LightChaser
That shot of the Amsterdam canals at dusk is absolutely magical! What settings did you use?
Douglas Murray
Thanks! That was f/8, 1/15s, ISO 400 with a tripod. The key was waiting for that perfect blue hour light!
WanderingLens
If you're doing this route, don't miss Bruges as a stop between! Small detour but worth it for photographers.
Frank Garcia
Absolutely second this! Bruges is like a fairytale setting for photographers.
sunnylife
Love this post! I'm heading to both cities in November for my first Europe trip. Did you really need all that camera gear? I only have my phone and a point-and-shoot. Also wondering if the train is better than flying between cities? So many questions sorry!
Douglas Murray
A good phone camera can work wonders these days! And yes, I highly recommend the train - more scenic and environmentally friendly. Plus you'll capture those 'in-between' moments I mentioned.
Frank Garcia
@sunnylife Definitely take the train! I used my camera clip to keep my camera accessible but secure during the journey. But honestly, modern smartphones can take incredible photos too. The Thalys train is super comfortable and you'll see way more than from a plane.
sunnylife
Thanks both! Train it is then! 🚂
Venture X
Premium card with 2X miles, $300 travel credit, Priority Pass