


Disclosure: This article contains affiliate links. We may earn a commission from purchases at no extra cost to you, which helps our travel content.
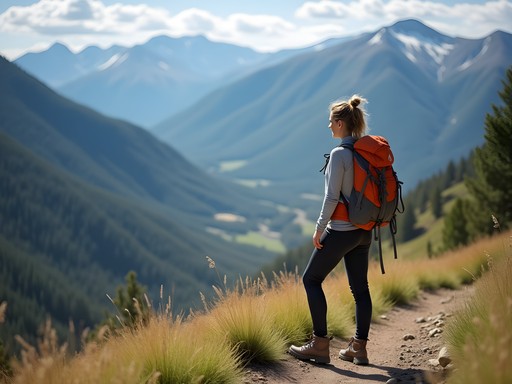
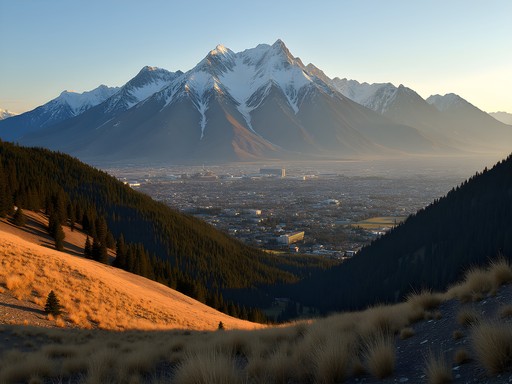
Boulder sits at the base of the Flatirons like a meditation cushion positioned before a cathedral—and I mean that both literally and metaphorically. After years of studying how natural environments affect our mental wellbeing, I can tell you that few places offer the psychological reset quite like Boulder's trail system. The altitude forces you to breathe deeper, the views demand presence, and the sheer variety means whether you're working through burnout or simply seeking clarity, there's a trail that matches your current capacity.

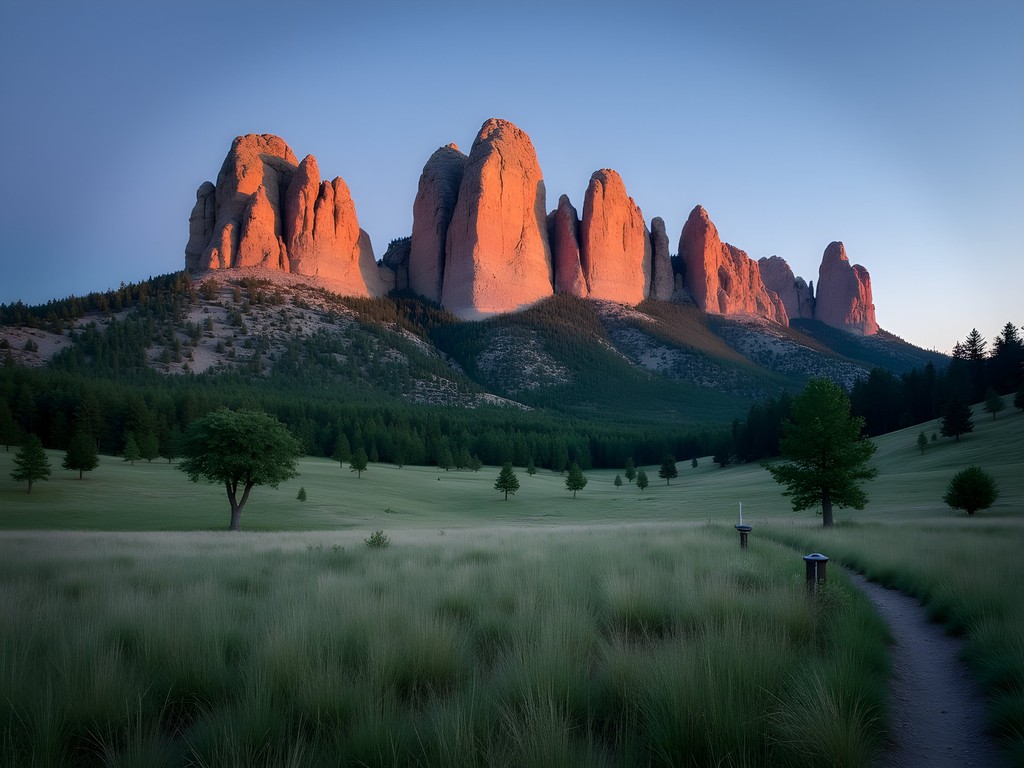
Understanding Boulder's Unique Trail Ecosystem
Boulder's trail network operates at elevations between 5,300 and 14,000 feet, which means your body will have opinions about your ambitions. I learned this the hard way during my first week here, when I confidently tackled what looked like a moderate trail and found myself gasping like a goldfish within twenty minutes. The psychological impact of altitude is fascinating—it creates a forced mindfulness that my patients pay good money to cultivate in therapy.
The city maintains over 150 miles of trails within its Mountain Parks system, complemented by adjacent Roosevelt National Forest access. What makes Boulder exceptional isn't just the quantity but the thoughtful gradation. You can genuinely progress from beginner to advanced within a single week, which creates a satisfying sense of mastery that does wonders for self-efficacy. Before you arrive, spend time with a detailed trail map to understand the network's layout—the waterproof paper has saved me during unexpected afternoon thunderstorms more times than I can count.
💡 Pro Tips
- Arrive two days before serious hiking to acclimate—your cardiovascular system will thank you
- Start each hike 90 minutes earlier than you think necessary; afternoon thunderstorms are punctual here
- Download offline maps before heading out; cell service is unreliable above 7,000 feet
Beginner-Friendly Trails: Building Your Altitude Legs
Chautauqua Trail to Royal Arch (3.4 miles, 1,300 ft elevation gain) remains my go-to recommendation for first-timers, though calling it beginner-friendly requires an asterisk. The trail begins at the historic Chautauqua Park—arrive early or you'll spend twenty minutes hunting for parking—and climbs steadily through ponderosa pine forests to a stunning natural arch. The psychological benefit of having a clear visual goal (that arch framing the plains below) cannot be overstated for motivation.
Mesa Trail (6.8 miles one-way) offers a gentler introduction, running along the base of the Flatirons with minimal elevation change. I often hike this when I need to think through complex cases from my practice; the rhythm of walking on relatively flat terrain creates the perfect cognitive state for problem-solving. The trail connects multiple access points, so you can customize distance based on energy levels. Pack a hydration bladder rather than water bottles—keeping hydrated at altitude requires constant sipping, and having the tube accessible makes it automatic rather than intentional.
💡 Pro Tips
- Use trekking poles on descents to save your knees—the rocky terrain is unforgiving
- Bring electrolyte tablets; altitude dehydration isn't just about water volume
- Take photos at the arch but don't linger—afternoon crowds turn it into a photo queue
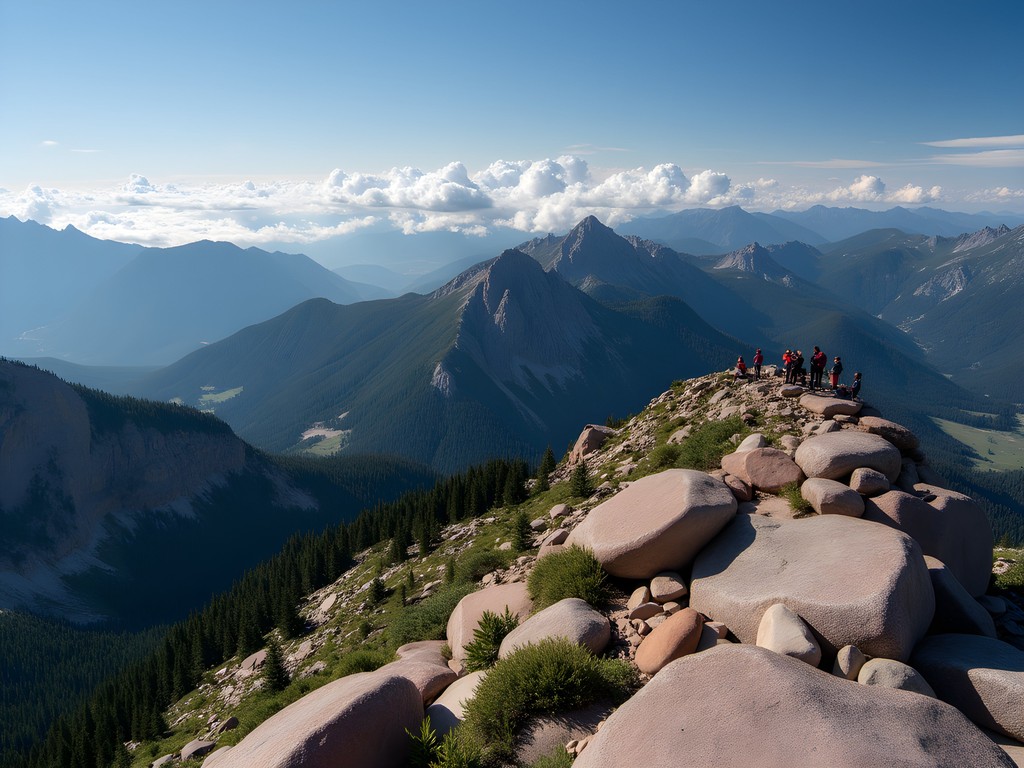
Intermediate Challenges: Where the Real Work Begins
Green Mountain via Ranger/Saddle Rock Loop (5.8 miles, 2,400 ft elevation gain) separates the tourists from the hikers. This trail has a reputation for humbling overconfident visitors, and I include myself in that category during my first attempt. The sustained climb demands both physical endurance and mental resilience—exactly the kind of challenge that builds genuine confidence rather than its fragile cousin, bravado.
The summit at 8,144 feet offers 360-degree views that justify the suffering. I've watched clients experience profound shifts in perspective up here, literally and figuratively. There's something about earning a view through effort that makes it penetrate deeper than any Instagram scroll. The descent via Saddle Rock tests your knees and requires focus; this is where a quality knee brace proves its worth if you have any history of joint issues.
Mount Sanitas Loop (3.3 miles, 1,343 ft elevation gain) packs intensity into brevity. The ascent is relentlessly steep—think StairMaster set to sadistic—but the efficiency appeals to my analytical mind. You can complete this before work if you're slightly unhinged, which I absolutely am on some mornings. The trail sees heavy use, creating an interesting social psychology study in trail etiquette and the human tendency to compare ourselves to others even while supposedly communing with nature.
💡 Pro Tips
- Start Green Mountain counterclockwise for better knee preservation on the descent
- Sanitas is a terrible choice for your first altitude hike despite its short distance
- Bring wind layers for summits even on warm days—exposed peaks are 15 degrees cooler

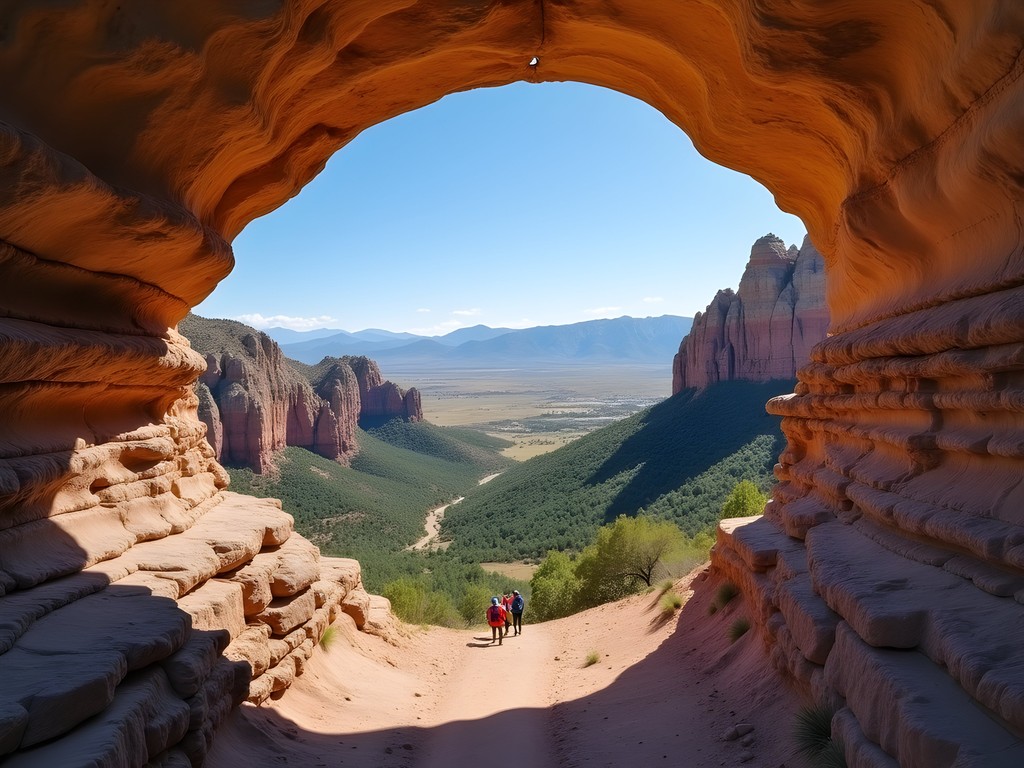
Advanced Terrain: Testing Your Limits Responsibly
South Arapaho Peak via Arapaho Pass (10 miles, 2,800 ft elevation gain) enters true alpine territory at 13,397 feet. This isn't technically in Boulder proper—it's about 40 minutes west—but it represents the logical progression for a week-long hiking evolution. I hiked this on day six of my first Boulder trip and experienced what I can only describe as altitude-induced philosophical clarity around mile seven. The tundra ecosystem above treeline feels extraterrestrial, and the exposure to weather demands respect and preparation.
This is where gear matters significantly. I finally invested in a proper hiking GPS device after a close call with afternoon fog obscuring the trail markers. Your phone's GPS drains battery rapidly in cold temperatures, and up here, navigation errors have consequences. The psychological security of having reliable navigation tools allows you to be present with the experience rather than anxiously monitoring your position.
Bear Peak via Shadow Canyon (5.6 miles, 2,600 ft elevation gain) offers advanced hiking without the drive. The approach through Shadow Canyon involves scrambling over boulders—actual problem-solving with your body rather than just walking uphill. The summit at 8,461 feet provides perhaps the best perspective on Boulder's geography. I bring my insulated food jar filled with hot soup for summit lunches; warm food at altitude hits differently when you're slightly hypothermic from wind exposure.
💡 Pro Tips
- Turn back if you're not at treeline by noon on fourteener attempts—lightning kills
- Pack an extra insulation layer you think you won't need; summits are always colder than predicted
- Practice boulder scrambling on easier terrain before attempting Shadow Canyon
The Mental Game: Psychological Strategies for Mountain Hiking
Here's what I've learned from combining psychiatric practice with mountain experience: altitude hiking is 60% mental after you've achieved baseline fitness. The discomfort of thin air triggers our threat-detection systems, creating a fascinating internal negotiation between the part of you that wants to quit and the part that knows you're actually fine.
I teach clients—and remind myself—to use breath as both anchor and assessment tool. If you can speak in full sentences, you're working aerobically. If you can only gasp single words, you've crossed into unsustainable effort. The mountains will always be there tomorrow; ego-driven summit fever is how experienced hikers make stupid decisions. I've turned back from summits when conditions changed, and each time it felt like failure until I was safely back at the trailhead feeling grateful rather than hypothermic.
Solo hiking, which I do frequently, requires additional psychological preparation. I carry a personal locator beacon not because I expect to use it, but because the psychological security it provides allows me to hike with confidence rather than anxiety. The mental space that opens up when you're not constantly catastrophizing about worst-case scenarios is where the real benefits of mountain time emerge.

💡 Pro Tips
- Practice the 'rest step' technique for sustained climbing: pause briefly with each step to let your muscles recover
- Use mantras during difficult sections; mine is 'this is temporary, the view is permanent'
- Schedule an easy day mid-week for physical and psychological recovery—consistency beats heroics
Final Thoughts
Boulder's trail system offers something rare: a compressed learning environment where you can genuinely progress from cautious beginner to confident intermediate hiker within a week. The altitude forces adaptation, the variety prevents boredom, and the surrounding mountain culture normalizes the slightly obsessive behavior that develops when you realize how good consistent time above 7,000 feet feels for your nervous system.
I return to Boulder annually not despite my demanding practice schedule but because of it. The mountains provide a form of mental recalibration that no amount of meditation apps or therapy can replicate. There's something irreplaceable about earning your exhaustion through physical effort in beautiful places, then sleeping the deep, dreamless sleep of the appropriately tired.
Start conservatively, progress intentionally, and pay attention to what the altitude teaches you about pacing and presence. The trails will meet you wherever you are—literally and metaphorically—and if you let them, they'll show you where you're capable of going.
✨ Key Takeaways
- Dedicate two days to altitude acclimation before attempting intermediate or advanced trails to prevent misery and altitude sickness
- Progress systematically through difficulty levels—Boulder's trail gradation allows genuine skill building within one week
- Invest in navigation, hydration, and safety gear that provides psychological security alongside practical function
📋 Practical Information
Best Time to Visit
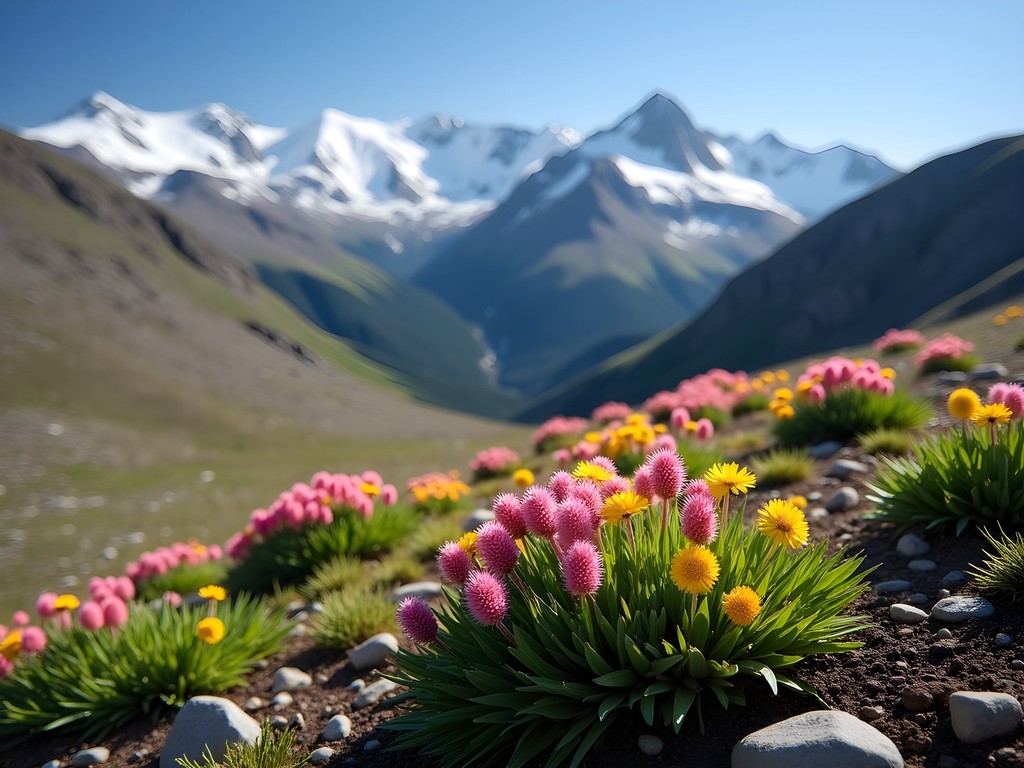
June through September for optimal trail conditions; July-August for alpine wildflowers
Budget Estimate
$800-1200 for week including mid-range accommodation, meals, gear, and transportation
Recommended Duration
7 days for proper acclimation and progression through difficulty levels
Difficulty Level
Moderate To Challenging Depending On Trail Selection
Comments
wanderlustking
This looks amazing! Quick question - how bad is the altitude thing really? I'm coming from sea level and kinda worried about that. Did you feel it right away on the beginner trails or is it more of an intermediate+ problem?
oceanninja
you'll def feel it even on easy trails. take it slow first day or two, drink tons of water
Hayden Butler
I felt it immediately when I visited last fall. Even walking around downtown Boulder had me breathing heavier than normal. My advice? Arrive a day early, stay hydrated, and don't push yourself on day one. I made the mistake of trying Royal Arch my first morning and had to turn back halfway. Came back two days later and crushed it. Your body just needs time to adjust.
Venture X
Premium card with 2X miles, $300 travel credit, Priority Pass